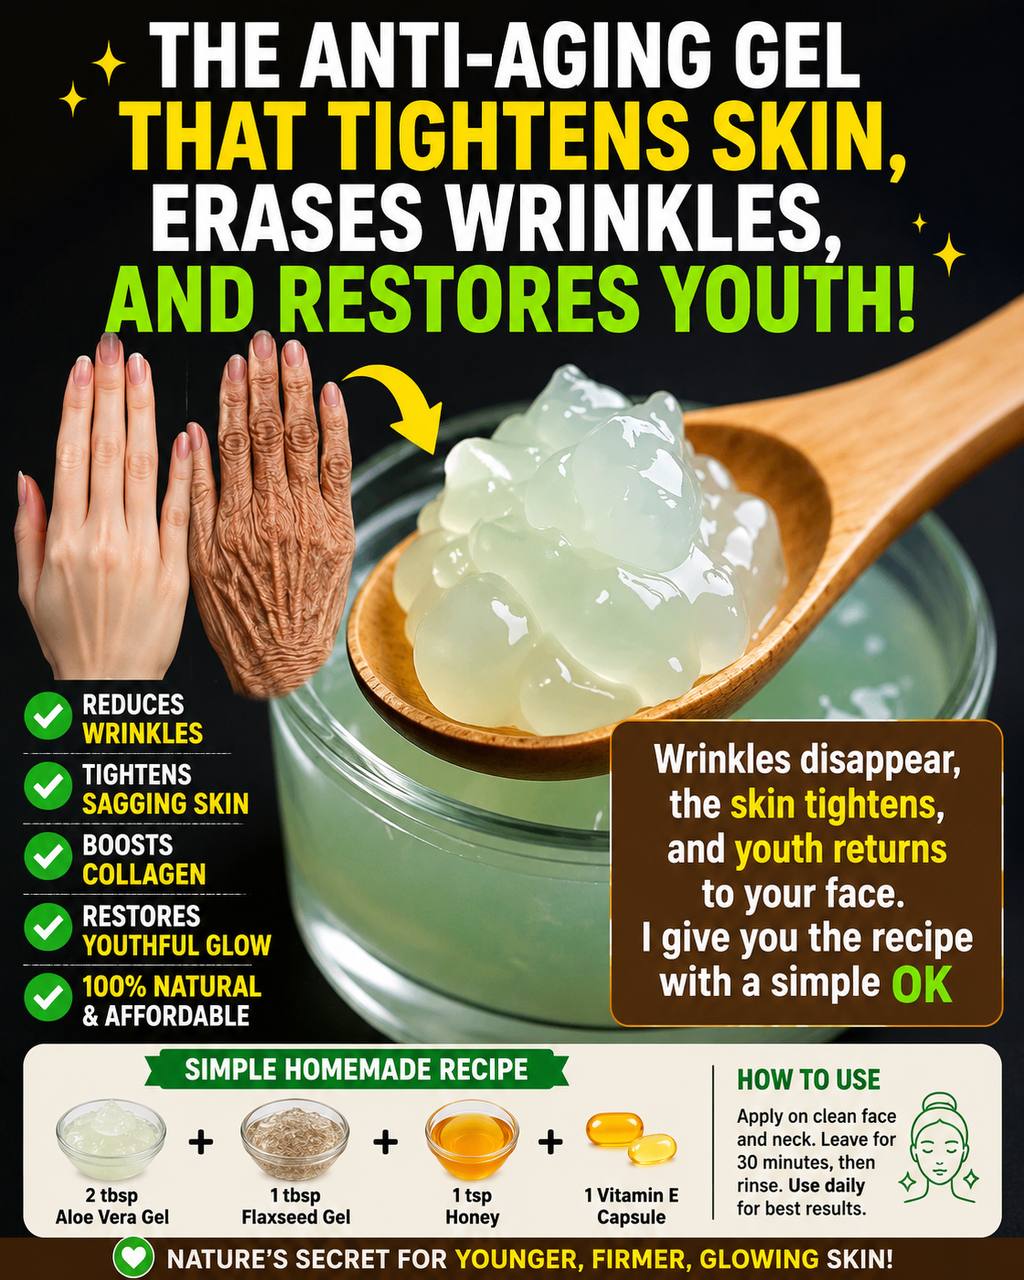
Instructions
- Prepare Your Workspace and Tools: Ensure all your utensils (bowl, spoon, measuring spoons) are clean and sanitized to prevent contamination of your homemade gel. This is crucial for maintaining the efficacy and safety of your skincare product.
- Extract Vitamin E Oil: Take one Vitamin E capsule. Using a clean pin or the tip of a small, sharp knife, carefully puncture one end of the capsule. Gently squeeze the capsule to release the oily contents into a small, clean mixing bowl.
- Add Honey: Measure out 1 teaspoon of raw honey and add it to the bowl with the Vitamin E oil. Honey is a potent humectant and antibacterial agent, known for its moisturizing and soothing properties.
- Incorporate Flaxseed Gel: Measure 1 tablespoon of flaxseed gel and add it to the mixture in the bowl. If you’re making your own flaxseed gel, ensure it’s cooled completely before adding it. Flaxseed gel is renowned for its film-forming properties, which can provide a temporary tightening effect.
- Introduce Aloe Vera Gel: Finally, add 2 tablespoons of pure aloe vera gel to the bowl. If using fresh aloe, carefully scoop out the clear gel, avoiding the yellow sap (aloin), which can be irritating. Aloe vera is celebrated for its soothing, hydrating, and anti-inflammatory benefits.
- Mix Thoroughly: Using a clean spoon or a small whisk, thoroughly mix all the ingredients together. Continue stirring until you achieve a homogenous, smooth consistency. There should be no lumps or separated ingredients. The gel should have a uniform texture.
- Transfer to Storage: Carefully transfer the freshly prepared homemade aloe vera gel into a clean, airtight container. A small glass jar with a lid or a repurposed, sanitized cosmetic container works best.
- Store Properly: Store the container in the refrigerator. This not only helps to preserve the freshness and extend the shelf life of your natural gel but also provides a cooling sensation upon application, which can be particularly refreshing for the skin.
- Application: To use, ensure your face and neck are thoroughly cleansed and dry. Apply a thin, even layer of the gel to your skin.
- Allow to Absorb: Leave the gel on for approximately 30 minutes. During this time, the active ingredients will work to penetrate and nourish your skin.
- Rinse Off: After 30 minutes, gently rinse your face and neck with lukewarm water. Pat your skin dry with a soft, clean towel.
- Daily Use: For optimal results, incorporate this homemade aloe vera gel into your daily skincare routine. Consistent application is key to observing any potential improvements in skin texture and appearance.
Cooking Tips and Variations
When preparing your homemade aloe vera gel, the quality of your ingredients is paramount. Always opt for pure, high-quality aloe vera gel, ideally extracted fresh from a leaf if possible, or a reputable brand without added fragrances or alcohol. For flaxseed gel, making it fresh is simple: boil 1/4 cup of flaxseeds in 2 cups of water for about 10-15 minutes until a gel-like consistency forms, then strain the seeds. This ensures maximum potency. Raw honey is always preferred over processed honey for its superior enzymatic and antibacterial properties. For a variation, if you have sensitive skin, consider reducing the honey to half a teaspoon initially, as some individuals can be sensitive to its stickiness or natural compounds. You could also add a drop or two of a skin-safe essential oil like lavender or frankincense for additional benefits and a pleasant aroma, but always perform a patch test first. Remember that consistency is key; if your gel is too thin, you might add a tiny bit more flaxseed gel, and if it’s too thick, a drop or two of distilled water can help.
Storage and Reheating
Since this homemade aloe vera gel contains no artificial preservatives, proper storage is crucial to maintain its freshness and prevent bacterial growth. Always store your gel in a clean, airtight container, preferably glass, in the refrigerator. This cool environment not only extends its shelf life but also provides a refreshing sensation upon application. The shelf life of this homemade gel is typically about 1-2 weeks when stored correctly in the refrigerator. If you notice any changes in color, smell, or consistency, or if any mold appears, it’s best to discard the batch and prepare a fresh one. There is no need for “reheating” this product, as it is a skincare gel meant to be applied at a cool temperature. Simply take it out of the refrigerator a few minutes before use if you prefer it slightly less cold, or apply directly for a refreshing, tightening effect.
Frequently Asked Questions
Can this gel truly erase deep wrinkles?
While the ingredients in this homemade aloe vera gel, particularly aloe vera and flaxseed gel, are known for their hydrating and temporary skin-tightening effects, it’s important to have realistic expectations. This gel can certainly help to plump up the skin, making fine lines and minor wrinkles appear less noticeable due to increased hydration and a temporary film-forming effect. However, it cannot “erase” deep-set wrinkles or provide the dramatic, long-term anti-aging results that come from professional dermatological treatments or advanced skincare with potent active ingredients designed to stimulate significant collagen production at a deeper cellular level. Think of it as a wonderful natural boost for skin health and appearance, rather than a magic wand for profound wrinkle removal.
Is it safe for all skin types, especially sensitive skin?
Generally, the ingredients in this homemade aloe vera gel – aloe vera, flaxseed gel, honey, and Vitamin E – are well-tolerated and considered gentle for most skin types. Aloe vera is widely known for its soothing properties, and Vitamin E is a common antioxidant in skincare. However, individual sensitivities can vary. Honey, while beneficial, can occasionally cause a mild reaction in very sensitive individuals, and even natural ingredients can trigger allergies. Therefore, it is always highly recommended to perform a patch test on a small, inconspicuous area of your skin (such as behind the ear or on the inner forearm) at least 24-48 hours before applying the gel to your entire face and neck. If any redness, itching, or irritation occurs, discontinue use.
How long does it take to see results?
The timeline for seeing results from any skincare product, especially natural or homemade ones, can vary greatly depending on individual skin type, consistency of use, and the specific concerns you are addressing. You might notice immediate hydration and a temporary feeling of skin tightness or a subtle glow shortly after application due to the humectant properties of honey and aloe, and the film-forming nature of flaxseed gel. For more noticeable improvements in skin texture, reduced appearance of fine lines, or overall skin health, consistent daily use for several weeks (typically 3-4 weeks, which is a full skin cell turnover cycle) is usually required. Remember that these results will likely be subtle enhancements rather than dramatic transformations, contributing to overall healthier-looking skin over time.