Instructions
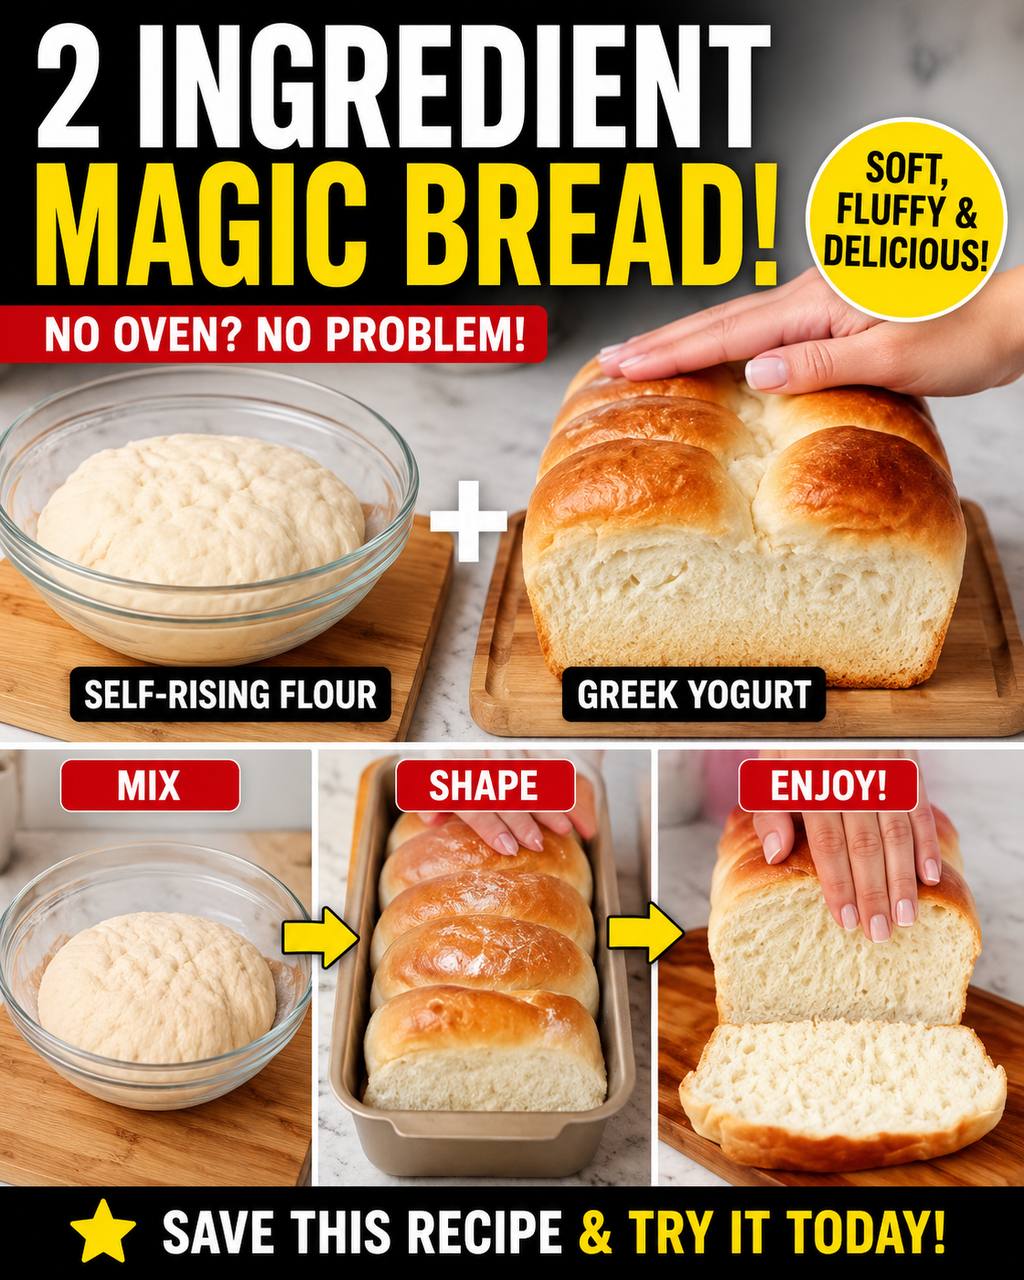
- In a large mixing bowl, combine the 2 cups of self-rising flour with 1 cup of Greek yogurt. If adding an optional pinch of salt, mix it in now.
- Using a sturdy spoon or your hands, begin to mix the ingredients together. The mixture will initially look shaggy and dry.
- Gradually add more Greek yogurt, one tablespoon at a time, continuing to mix until a cohesive, slightly sticky dough forms. The exact amount of yogurt needed can vary based on the humidity and brand of flour, so aim for a dough that holds together but is not overly wet or crumbly. It should be soft and pliable.
- Lightly flour a clean work surface. Turn the dough out onto the floured surface.
- Knead the dough gently for about 5-7 minutes. This step is crucial for developing the gluten and ensuring a soft, fluffy texture. The dough should become smoother and less sticky as you knead. Avoid over-kneading, which can make the bread tough.
- Once kneaded, divide the dough into 8-10 equal portions if making individual rolls, or shape it into a single rustic loaf. If making rolls, gently shape each portion into a smooth ball. If making a loaf, form it into an oval or round shape.
- For Stovetop Cooking (Recommended No-Oven Method):
- Heat a large, heavy-bottomed non-stick skillet or cast-iron pan over medium-low heat. If desired, brush the pan lightly with olive oil or melted butter.
- Carefully place the shaped dough portions (rolls or loaf) into the preheated pan, ensuring they are not overcrowded. You may need to cook in batches.
- Cover the pan tightly with a lid. This traps the steam and helps the bread cook through and rise.
- Cook for 10-15 minutes on one side, or until the bottom is golden brown and the dough has significantly puffed up.
- Flip the bread gently. If making rolls, you may need to flip each one individually.
- Cover again and cook for another 8-12 minutes on the second side, or until golden brown and cooked through. To check for doneness, tap the bread; it should sound hollow, and an internal thermometer inserted into the center should read around 200-210°F (93-99°C).
- Remove from the pan and transfer to a wire rack to cool slightly before serving.
- For Air Fryer Cooking (Alternative No-Oven Method):
- Preheat your air fryer to 350°F (175°C).
- Lightly grease the air fryer basket or line it with parchment paper designed for air fryers.
- Place the shaped dough portions (rolls or loaf) into the air fryer basket, ensuring there’s space between them for air circulation. Do not overcrowd.
- Cook for 10-15 minutes, flipping halfway through, until golden brown and cooked through. Cooking time may vary depending on your air fryer model and the size of your bread. An internal thermometer should read 200-210°F (93-99°C).
- Remove and let cool slightly on a wire rack.
- Serve your “Magic Bread” warm and enjoy!
Cooking Tips and Variations
For the best “Magic Bread” experience, always start with high-quality, full-fat plain Greek yogurt. The fat content contributes significantly to the bread’s tenderness and flavor. Low-fat or non-fat yogurts can result in a drier, tougher bread. Similarly, avoid flavored yogurts, as their sugars and artificial flavors will alter the taste profile dramatically. When it comes to self-rising flour, ensure it’s fresh, as the leavening agents can lose potency over time. If your self-rising flour is old, your bread might not rise as much.
The key to perfect dough consistency is to add the Greek yogurt gradually. Start with the recommended amount, but be prepared to add a little more flour if the dough is too sticky, or a tablespoon more yogurt if it’s too dry. The ideal dough should be soft, pliable, and slightly tacky but not stick to your hands excessively after kneading. Don’t be afraid to adjust based on how your dough feels – baking is an art as much as a science!
To achieve a beautiful golden crust without an oven, especially with the stovetop method, consider brushing the top of your bread with a little olive oil or melted butter before cooking, and again halfway through. This not only aids in browning but also adds a lovely richness. For an extra touch, you can also sprinkle a little flaky sea salt on top before cooking.
The versatility of Magic Bread allows for numerous delicious variations. For a savory twist, try kneading in 1-2 tablespoons of dried herbs like rosemary, thyme, or oregano into the dough. A sprinkle of garlic powder or onion powder also works wonderfully. If you love cheese, fold in a quarter cup of shredded Parmesan or cheddar cheese during the kneading process. For a touch of sweetness, incorporate a tablespoon of sugar or honey into the dough and consider adding a pinch of cinnamon or dried fruit like cranberries. These variations make the bread perfect for different meals – savory for dinner, and sweet for breakfast or a snack.
When cooking on the stovetop, remember that a tight-fitting lid is your best friend. It creates a steamy environment that helps the bread cook evenly and rise beautifully. If your lid isn’t perfectly snug, you can place a clean kitchen towel over the pan before putting on the lid to help trap more steam. Keep the heat at medium-low to prevent the outside from burning before the inside is cooked through. Patience is key for that perfect golden finish.
Storage and Reheating
Magic Bread is best enjoyed fresh and warm, straight from the pan. However, if you have leftovers, they can be stored to maintain their deliciousness. For short-term storage, place the cooled bread in an airtight container or a resealable plastic bag at room temperature for up to 2 days. To extend its freshness, you can also wrap it tightly in plastic wrap and then aluminum foil, and store it in the refrigerator for up to 5 days. For longer storage, this bread freezes surprisingly well. Wrap individual rolls or slices tightly in plastic wrap, then place them in a freezer-safe bag or container. It can be frozen for up to 3 months.
Reheating Magic Bread is simple and helps revive its soft texture. If frozen, thaw the bread at room temperature first. For individual rolls or slices:
- Stovetop: Place the bread in a dry, non-stick skillet over medium-low heat. Cover and heat for 3-5 minutes, flipping once, until warmed through and slightly crisp on the outside.
- Air Fryer: Reheat in a preheated air fryer at 300°F (150°C) for 2-4 minutes, or until warm.
- Microwave: For a very quick reheat, place a roll or slice on a microwave-safe plate and microwave for 10-20 seconds. Be careful not to over-microwave, as it can make the bread tough.
For a whole loaf, you can wrap it loosely in foil and reheat it in a preheated oven at 300°F (150°C) for 10-15 minutes, or until warmed through. The goal is to warm it gently without drying it out, bringing back that delightful fresh-baked feel.
Frequently Asked Questions
My dough is too sticky, what should I do?
If your dough is too sticky to handle after adding the recommended amount of yogurt, don’t worry! This is a common issue that can be easily fixed. Simply add a tablespoon or two of self-rising flour to the dough and continue to knead. Keep adding small amounts of flour until the dough is manageable, soft, and no longer excessively sticky. The consistency of Greek yogurt can vary, so slight adjustments are often necessary.
How do I know if the bread is cooked through without an oven?
When cooking on the stovetop or in an air fryer, knowing when the bread is fully cooked is crucial. The best indicators are a deep golden-brown crust on both sides and a hollow sound when you tap the bread. For absolute certainty, especially with thicker loaves, you can use an instant-read thermometer. Insert it into the center of the bread; it should register between 200-210°F (93-99°C) when fully cooked. If it’s not quite there, continue cooking for a few more minutes, ensuring the heat isn’t too high to prevent burning the exterior.
Can I use regular all-purpose flour instead of self-rising flour?
While this recipe specifically calls for self-rising flour because it contains leavening agents (baking powder and salt) already mixed in, you can absolutely make your own “self-rising” flour. To substitute, for every cup of all-purpose flour, add 1.5 teaspoons of baking powder and 1/4 teaspoon of fine salt. So, for this recipe, you would use 2 cups of all-purpose flour, 3 teaspoons of baking powder, and 1/2 teaspoon of salt. Make sure to whisk these dry ingredients together thoroughly before adding the Greek yogurt to ensure even distribution of the leavening.
Why is my Magic Bread not rising or fluffy?
Several factors can contribute to your Magic Bread not rising as expected or being less fluffy. First, check the freshness of your self-rising flour; if it’s old, the leavening agents might have lost their potency. Second, ensure you’re using full-fat Greek yogurt, as the fat content contributes to the texture. Third, avoid over-kneading, which can make the dough tough, or under-kneading, which doesn’t allow enough gluten development for a good rise. Finally, when cooking, make sure the pan is covered tightly on the stovetop to trap steam, which aids in rising, and cook at the correct medium-low temperature to allow the bread to cook through and puff up without burning.