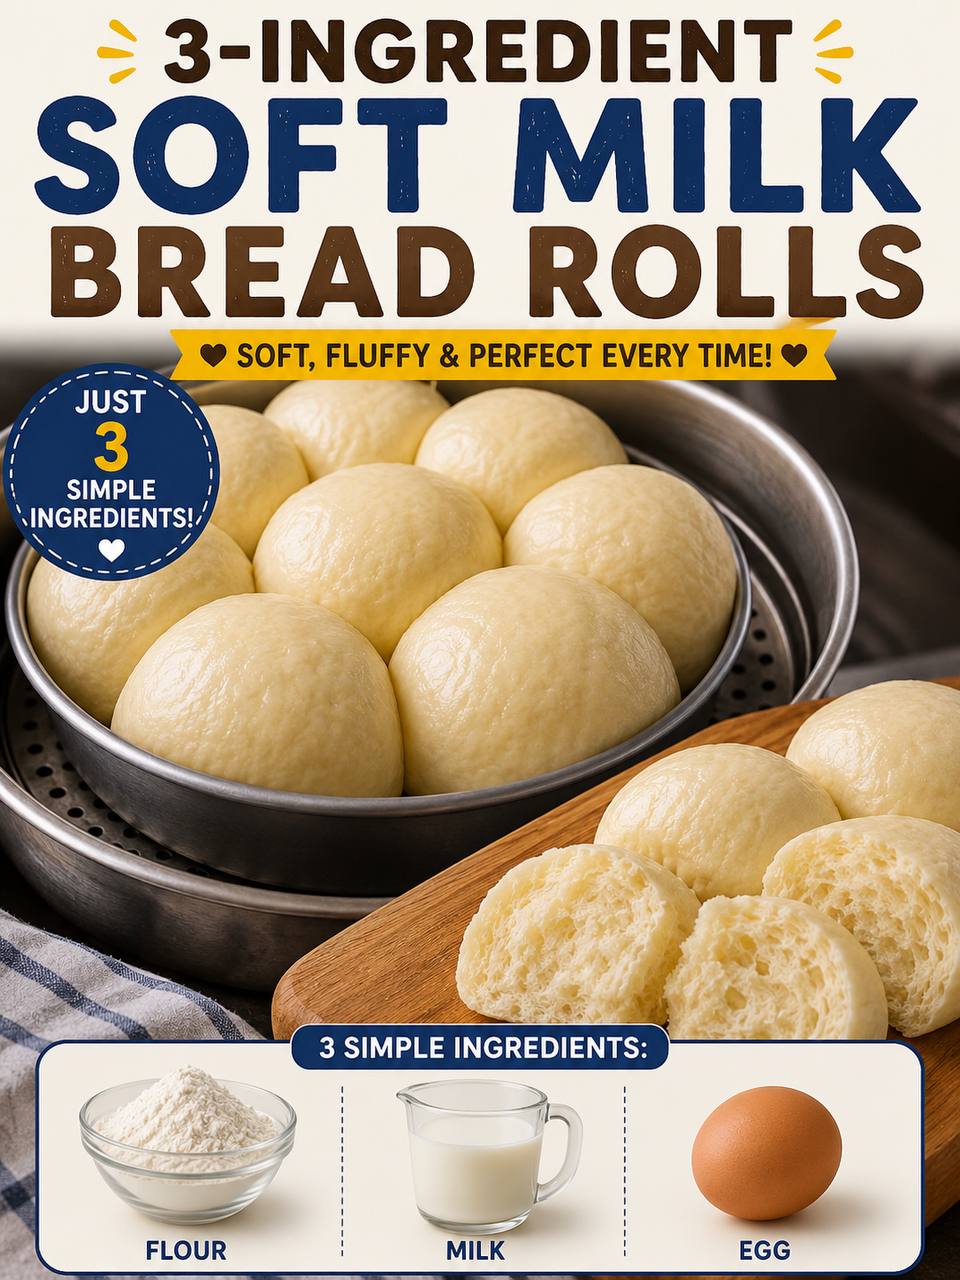
Instructions
- In a large mixing bowl, combine the warm milk and the egg. Whisk them together until well combined and slightly frothy. The warmth of the milk is crucial here, as it helps activate the proteins and create a more pliable dough.
- Gradually add the all-purpose flour to the wet ingredients, stirring with a wooden spoon or spatula. Start by adding about half the flour, mix until just combined, then add the remaining flour. Continue to mix until a shaggy dough forms and most of the flour is incorporated.
- Turn the dough out onto a lightly floured surface. Knead the dough for about 5-7 minutes. While this recipe is incredibly simple, a short kneading period is beneficial for developing the gluten, which contributes to the rolls’ soft and chewy texture. The dough should become smooth and elastic, though it might still be slightly tacky. Avoid adding too much extra flour during kneading; a little stickiness is okay.
- Lightly grease the mixing bowl with a tiny bit of oil. Place the dough back into the bowl, turning it once to coat. Cover the bowl with plastic wrap or a clean kitchen towel and let it rest in a warm place for about 30-45 minutes. Even without yeast, this resting period allows the gluten to relax, making the dough easier to handle and contributing to a softer final product. The dough will not double in size like a traditional yeast dough, but it will become noticeably softer and more pliable.
- Once rested, gently punch down the dough to release any air. Turn the dough out onto a lightly floured surface. Divide the dough into 12 equal pieces. For best results and uniform rolls, you can use a kitchen scale to ensure each piece weighs roughly the same (around 30-35g each).
- Take each piece of dough and gently roll it between your palms to form a smooth, round ball. Ensure there are no visible seams on the top surface. Place the shaped rolls onto individual squares of parchment paper (about 3×3 inches or 7.5×7.5 cm). This prevents them from sticking to the steamer and each other during cooking.
- Prepare your steamer. Fill the bottom pot of your steamer with about 1-2 inches of water. Bring the water to a rolling boil over high heat.
- Carefully arrange the shaped dough balls, still on their parchment squares, in a single layer in your steamer basket(s). Make sure to leave about 1-2 inches of space between each roll to allow for expansion during steaming. Do not overcrowd the steamer; steam in batches if necessary.
- Once the water is boiling, place the steamer basket(s) over the boiling water. Cover the steamer with a tight-fitting lid. Reduce the heat to medium-high and steam the rolls for 12-15 minutes. The exact steaming time may vary slightly depending on the size of your rolls and the efficiency of your steamer.
- After 12-15 minutes, the rolls should be puffed up, soft, and have a uniform, slightly translucent appearance. To check for doneness, you can gently press one; it should spring back.
- Carefully remove the steamer basket from the heat. It’s crucial to lift the lid slightly and allow the rolls to cool in the steamer for 2-3 minutes before fully removing the lid. This prevents a sudden temperature drop, which can cause the rolls to wrinkle or collapse.
- Transfer the steamed bread rolls to a wire rack to cool slightly before serving. They are best enjoyed warm, fresh from the steamer.
Cooking Tips and Variations
Achieving that perfect, cloud-like texture in your Soft Steamed Bread Rolls is incredibly satisfying, and a few key tips can elevate your results. First, the quality of your ingredients matters, even with just three. Use fresh, good-quality all-purpose flour; while some recipes might suggest specific protein content, a standard all-purpose flour works wonderfully here. The warmth of the milk is also crucial; it should be warm to the touch, similar to a baby’s bathwater, but not hot enough to cook the egg. This helps relax the gluten in the flour and ensures a tender crumb. When kneading, resist the urge to add excessive flour if the dough feels a bit sticky; a slightly tacky dough is desirable for softness. Instead, lightly flour your hands and work surface as needed. The resting period, though not a traditional proofing, is essential for allowing the gluten to relax, making the dough easier to handle and contributing to the rolls’ ultimate tenderness.
For steaming, ensure your water is at a rolling boil before placing the steamer basket on top. A tight-fitting lid is non-negotiable to trap the steam effectively. Don’t overcrowd the steamer; leaving ample space between each roll allows for proper expansion and even cooking. After steaming, patience is key: resist the urge to immediately lift the lid. A sudden rush of cold air can cause the rolls to deflate or wrinkle. Instead, turn off the heat and let them sit in the covered steamer for a few minutes to acclimate to the temperature change. This simple step helps maintain their beautiful, smooth surface.
While the beauty of this recipe lies in its simplicity, you can certainly explore variations. For a slightly sweeter roll, perfect for breakfast or dessert, add 1-2 tablespoons of granulated sugar to the milk and egg mixture. If you prefer a savory touch, a pinch of salt (about ¼ teaspoon) can be added to the flour, enhancing the overall flavor without overpowering it. For a richer, more indulgent roll, you could replace a quarter of the milk with heavy cream, though this will slightly alter the nutritional profile. Experiment with different flours if you’re feeling adventurous; a blend of all-purpose and cake flour can yield an even more delicate texture, while bread flour might result in a chewier roll. The possibilities for customization are endless once you master the basic technique, allowing you to tailor these versatile rolls to any meal or craving.
Storage and Reheating
Soft Steamed Bread Rolls are undeniably at their best when enjoyed fresh and warm from the steamer. The soft, airy texture and delicate flavor are most pronounced in their immediate aftermath. However, if you find yourself with leftovers, fear not, as these rolls store and reheat remarkably well, allowing you to savor their goodness for days to come. Proper storage is key to maintaining their desirable texture and preventing them from drying out or becoming tough.
To store leftover rolls, first ensure they have cooled completely to room temperature. Placing warm rolls directly into an airtight container will create condensation, leading to soggy rolls and potentially mold. Once cooled, transfer the rolls to an airtight container or a heavy-duty resealable plastic bag. Press out as much air as possible before sealing. Stored this way, the rolls will remain soft and fresh at room temperature for up to 2-3 days. For longer storage, you can refrigerate them for up to 5 days, though refrigeration can sometimes alter the texture slightly, making them a bit firmer. For an even longer-term solution, these rolls freeze beautifully. Place the cooled rolls in a single layer on a baking sheet and freeze until solid, then transfer them to a freezer-safe bag or container. They can be stored in the freezer for up to 1-2 months.
Reheating these steamed bread rolls is straightforward and crucial for restoring their irresistible softness. If frozen, there’s no need to thaw them completely beforehand. The best method for reheating is, predictably, steaming. Place the rolls in a steamer basket over simmering water, cover, and steam for 5-7 minutes for refrigerated rolls, or 8-10 minutes for frozen rolls, until they are thoroughly heated through and soft to the touch. Alternatively, you can use a microwave for a quicker reheat, though this method can sometimes lead to a slightly chewier texture if overdone. Wrap a single roll loosely in a damp paper towel and microwave for 20-30 seconds, or until warm. For multiple rolls, you might need to add a few more seconds. Avoid overheating in the microwave, as this can make them hard. Regardless of the method, the goal is to bring back that delightful warmth and pillowy softness, making your leftover rolls taste almost as good as freshly made.
Frequently Asked Questions
What makes these rolls soft without yeast?
The incredible softness of these rolls, even without traditional yeast, comes primarily from the combination of ingredients and the steaming method. The egg acts as a tenderizer and provides structure, while the milk adds richness and moisture. The absence of baking in an oven means the rolls retain all their moisture, preventing a crust from forming and resulting in an exceptionally soft, delicate crumb. The gentle kneading and resting period also help to relax the gluten, contributing to the overall tenderness rather than a chewy texture.
Can I make these rolls gluten-free?
While this specific recipe relies on all-purpose flour for its structure and texture, it is possible to adapt it for gluten-free diets. You would need to use a high-quality gluten-free all-purpose flour blend that contains xanthan gum (or add it separately, about ½ teaspoon per cup of flour). Be aware that the texture might be slightly different, potentially less elastic, but you can still achieve a soft and delicious steamed roll. You may also need to adjust the amount of liquid slightly, as gluten-free flours can absorb liquids differently.
Why did my rolls wrinkle or collapse after steaming?
Wrinkling or collapsing after steaming is a common issue that usually stems from a sudden temperature change. To prevent this, it’s crucial to avoid lifting the steamer lid immediately after cooking. Instead, turn off the heat and let the rolls sit in the covered steamer for 2-3 minutes. This allows the internal temperature of the rolls to stabilize and prevents them from shrinking due to a rapid cool-down. Additionally, ensuring your steamer isn’t overcrowded and that the rolls have enough space to expand can also help maintain their smooth, puffed appearance.
Can I use self-rising flour for this recipe?
Using self-rising flour would introduce additional leavening agents (baking powder and salt) which are not part of the original “3 simple ingredients” concept. While it might still yield a soft roll, the texture and rise would be different from the intended recipe. If you wish to keep the recipe strictly to the three core ingredients, stick with all-purpose flour. If you want to experiment with self-rising flour, you might need to adjust the milk quantity slightly as self-rising flour can have a different absorption rate.